Re-upholstery courtesy of Mum!
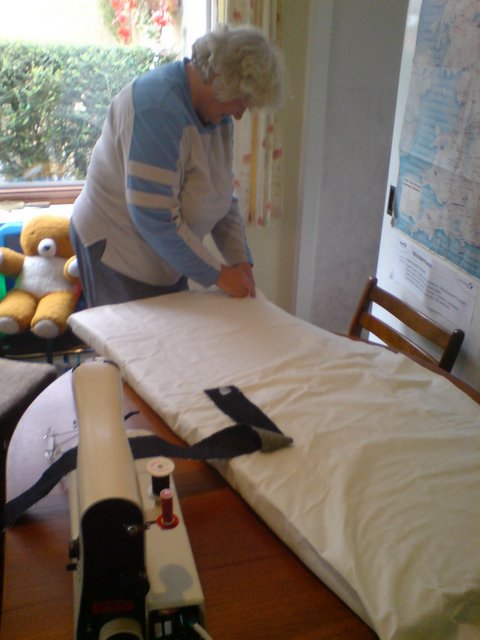 Here's my wonderful Mum helping out with covering all the cushions in denim so they look funky, wear hard and are easy to clean.
posted by Steve Wright | 8:42 AM
|
0 comments
![]()
The assorted adventures of 'Nessie' - a 1982 VW camper van, and its driver (Steve) and co-pilot (Caz).

Here's my wonderful Mum helping out with covering all the cushions in denim so they look funky, wear hard and are easy to clean.
posted by Steve Wright | 8:42 AM
|
0 comments
![]()
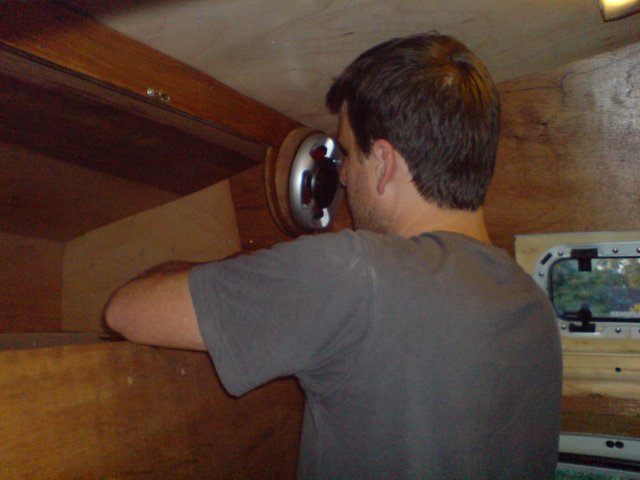 Kept the cupboard door but swapped the hinges from toip to bottom so it opens fully, sanded it down and re-varnished, ths is Karl re-connecting the speakers and shouting job done!!!
posted by Steve Wright | 8:40 AM
|
0 comments
![]()
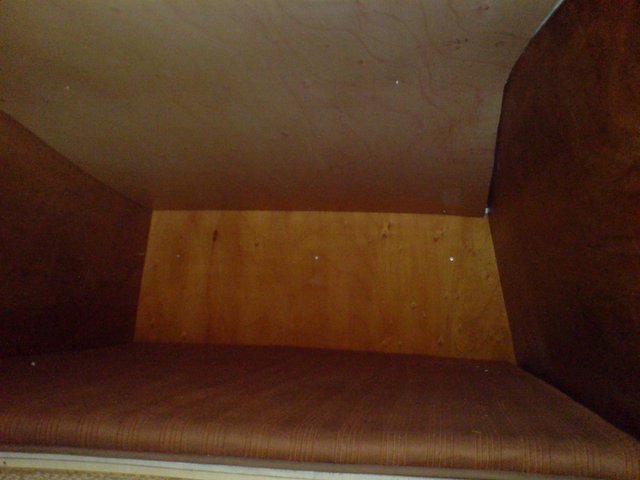
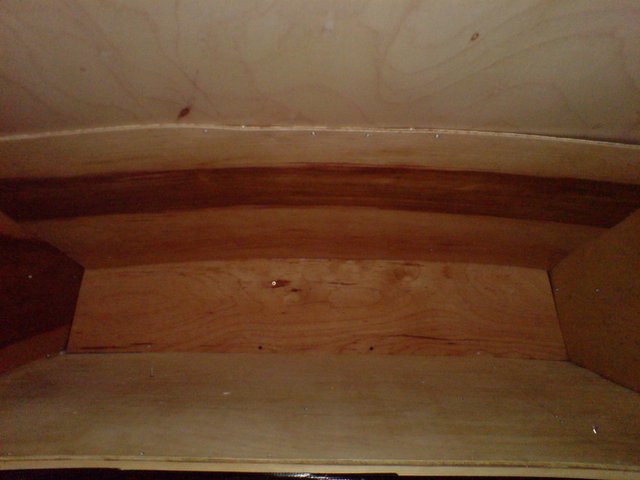 And there's the inside of the cupbaord at the front.
posted by Steve Wright | 8:39 AM
|
0 comments
![]()
 This was building the cupboard section - varnished all the wood, some was stained but that looked a bit too dark for the roof and slow drying, inside the cupboard just a coat of gloss.
posted by Steve Wright | 8:39 AM
|
0 comments
![]()

posted by Steve Wright | 8:37 AM
|
0 comments
![]()
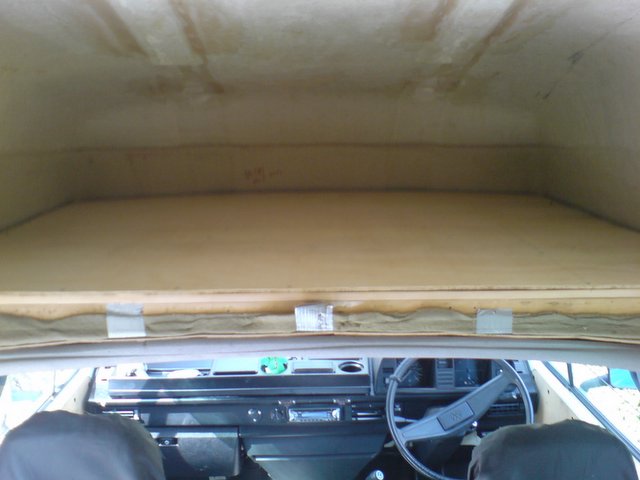
 We cut this single piece of 4mm ply and shaped it to fit the ceiling - getting it in involved taking it throught he back door/tailgate, taking it right to front to rest on dash then manouvering it up into the top.
posted by Steve Wright | 8:15 AM
|
0 comments
![]()
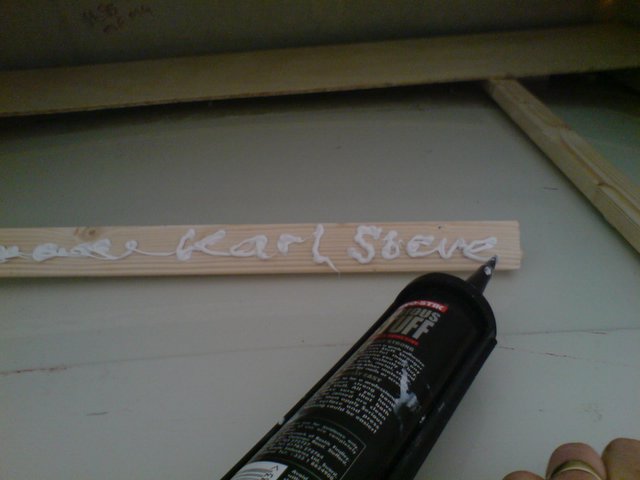
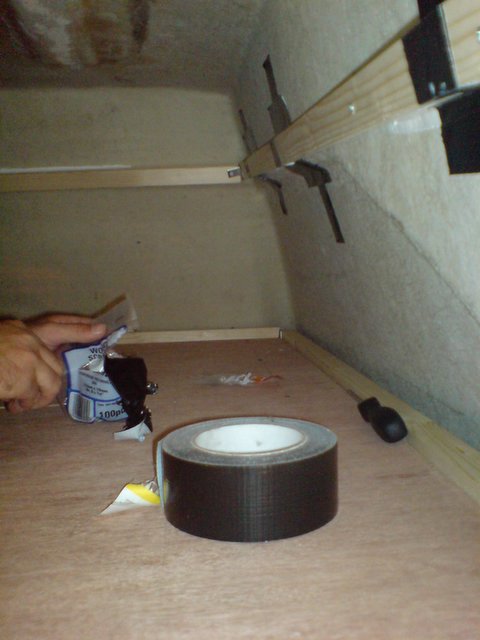
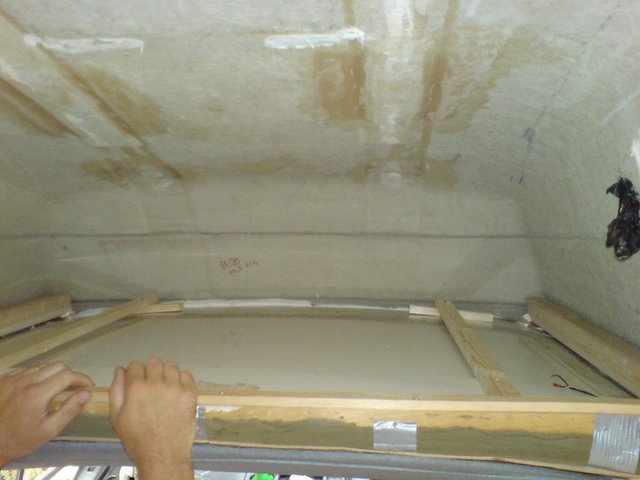
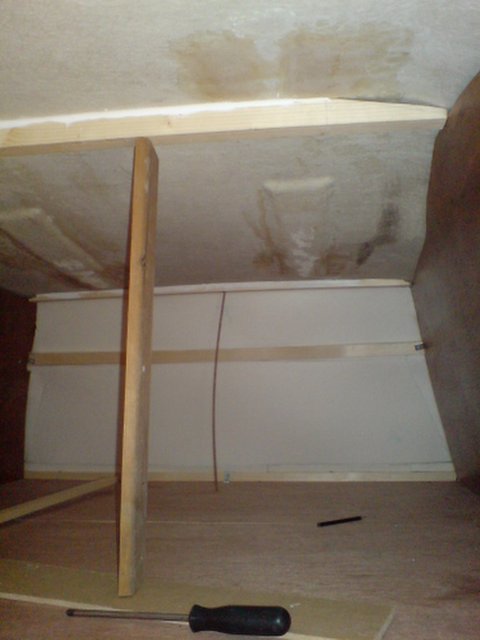 By this time we were so enamoured of the strength of 'SERIOUS STUFF@ it was mtool number 1 - so here's putting up chaped batons for the ceiling and then wedging in place with offcuts while it dried...
posted by Steve Wright | 8:14 AM
|
0 comments
![]()
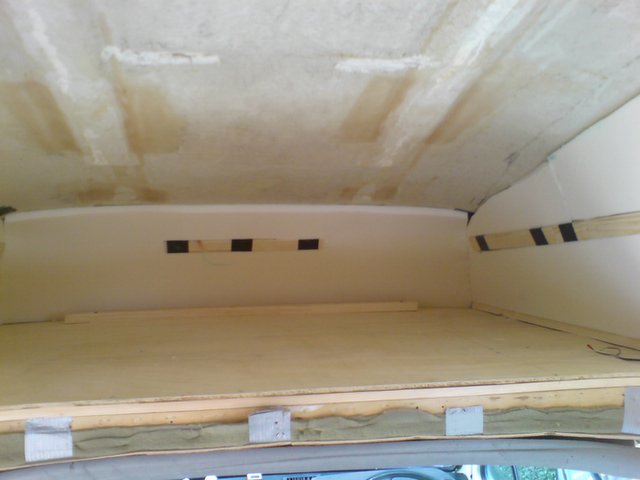 Showing how easy it is to fit - and how the front top frame looks
posted by Steve Wright | 8:07 AM
|
0 comments
![]()
 Here we go - that's good insulation now!
posted by Steve Wright | 8:01 AM
|
0 comments
![]()
 X-Trem is really easy to work with - soft, flexible foam, but very very warm. Easy to cut with just a sharp stanley blade too.
posted by Steve Wright | 8:00 AM
|
0 comments
![]()
 It's all taking shape now - and this is the end of day 3 - time to go get very very drunk at the lager festival...
posted by Steve Wright | 7:45 AM
|
0 comments
![]()
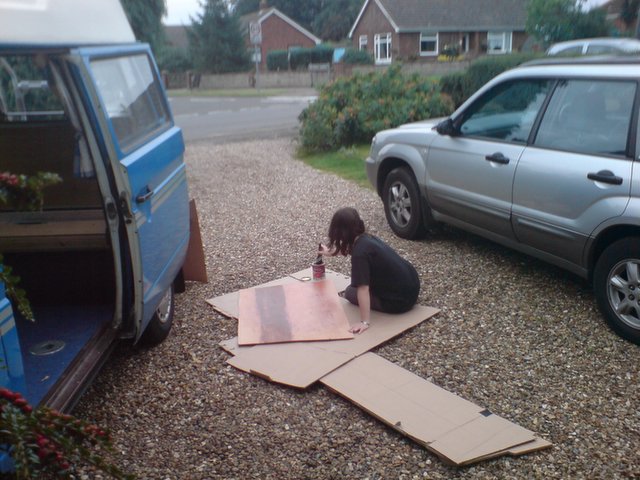
 I got some relaly nice looking ply wood - 4mm brazillian, just the normal B&Q stuff but going through the pile there was this one. Took careful measures every 10cm using a set squate and measuring tape along tength of side then marked these on the wood and joined up the dots, cut with jigsaw and fitted in - looks nice hey!
posted by Steve Wright | 7:43 AM
|
0 comments
![]()
 The upper frame is a bit, err, more bodgy...
posted by Steve Wright | 7:36 AM
|
0 comments
![]()
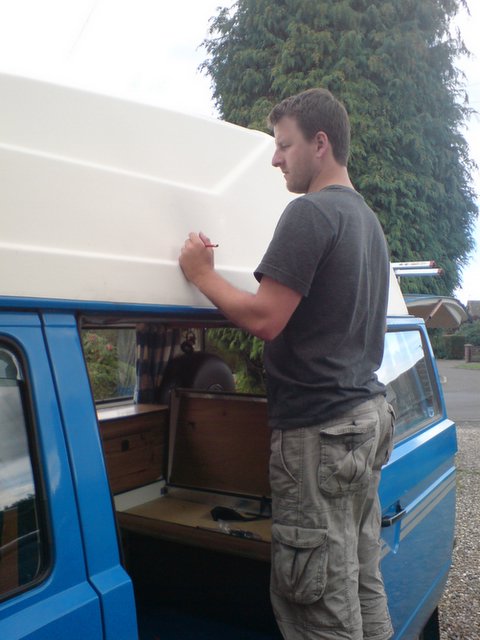
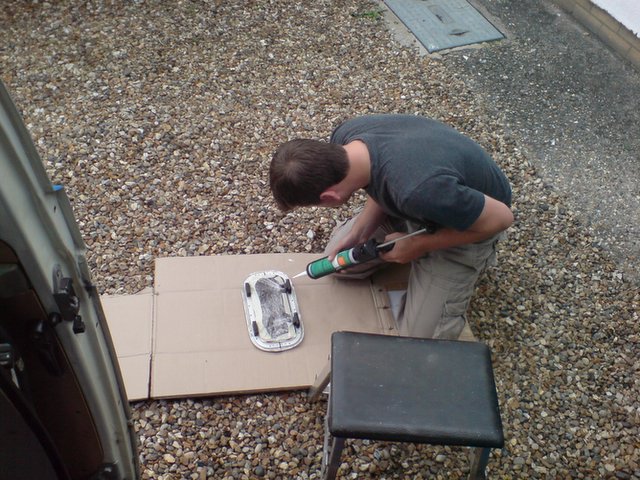 The final stage - adding a small bead of silicon seal then bolting the inside to the outside - nice and easy!!!
posted by Steve Wright | 7:24 AM
|
0 comments
![]()
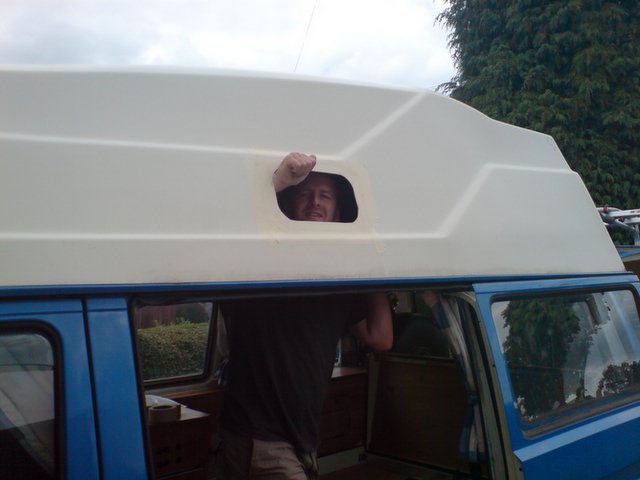
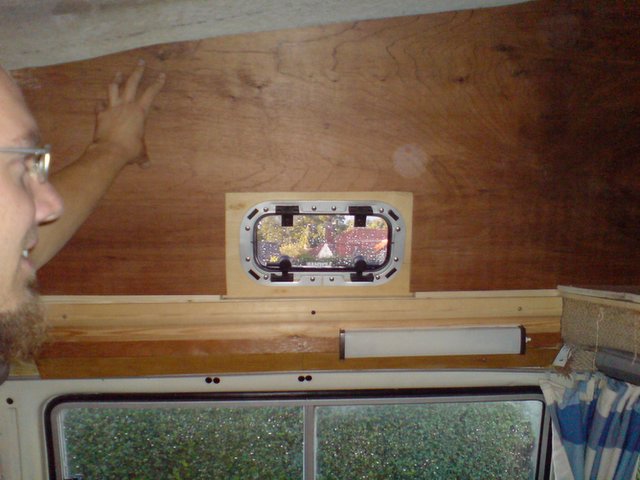
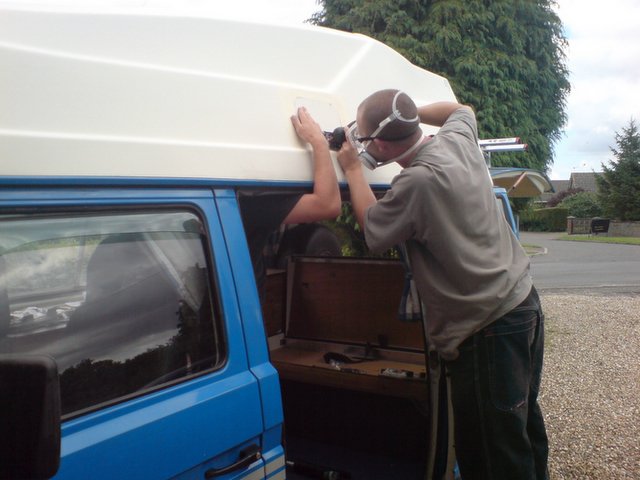 My windows were from Lewmar - yacht windows guaranteed to about 50m below sea level! And openable! Nice.
posted by Steve Wright | 7:11 AM
|
0 comments
![]()
 Still - Lewmar widnows are easy to fit!
posted by Steve Wright | 7:11 AM
|
0 comments
![]()
 Done with thinner 6mm ply - same same but different as they'd say in thailand.
posted by Steve Wright | 7:08 AM
|
0 comments
![]()
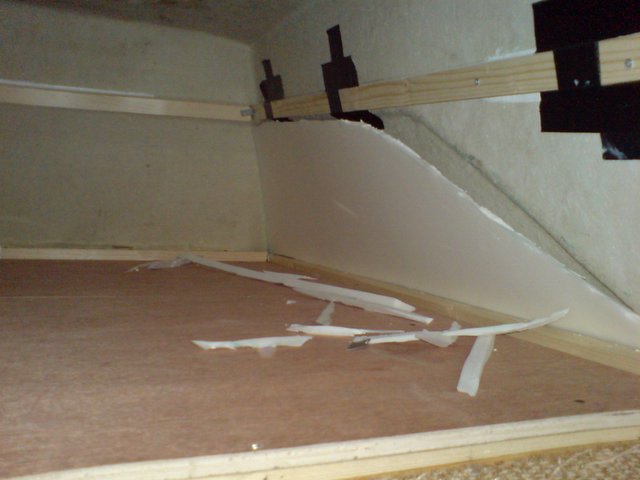
 Similar approach - but screwed through into tin near the open area, and botched on with 'SERIOUS STUFF' at the far end - not gonna take as much weight though so fine!
posted by Steve Wright | 7:07 AM
|
0 comments
![]()
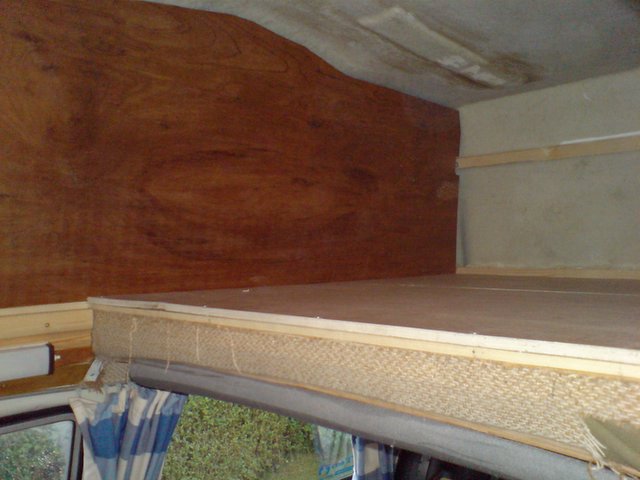
 Now screw your 9mm ply down onto the frame and feel well pleased by the progress!
posted by Steve Wright | 7:06 AM
|
0 comments
![]()
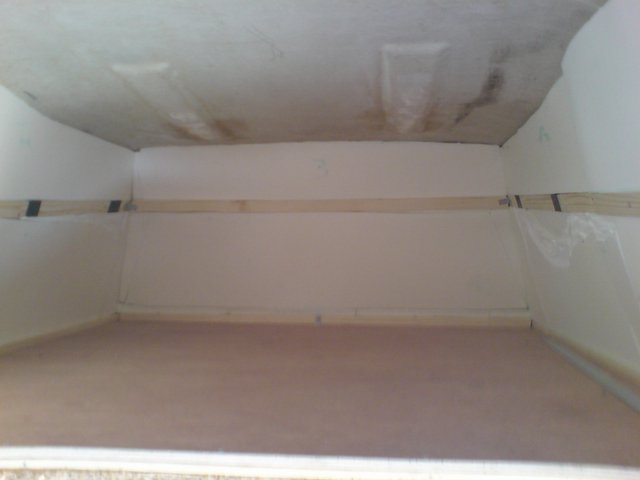
 I woudln't do it this way if I were doing it again, rather run full length battons along the whole top - stronger and more stable. This worked though and gave good supportt on the reinforced segments.
posted by Steve Wright | 7:04 AM
|
0 comments
![]()