
JOB DONE!
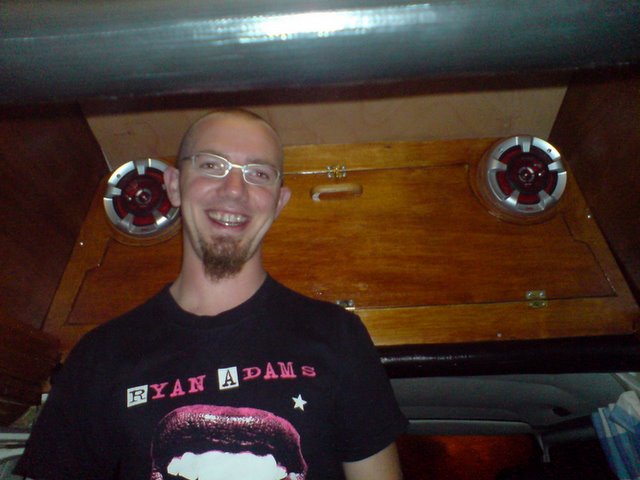 And what a LOT of work that was!
Still - it looks so awesome now...
Hope this guide may even be of help to someone else!
Steve

posted by Steve Wright | 7:37 AM
|
0 comments
![]()
The assorted adventures of 'Nessie' - a 1982 VW camper van, and its driver (Steve) and co-pilot (Caz).

And what a LOT of work that was!
posted by Steve Wright | 7:37 AM
|
0 comments
![]()
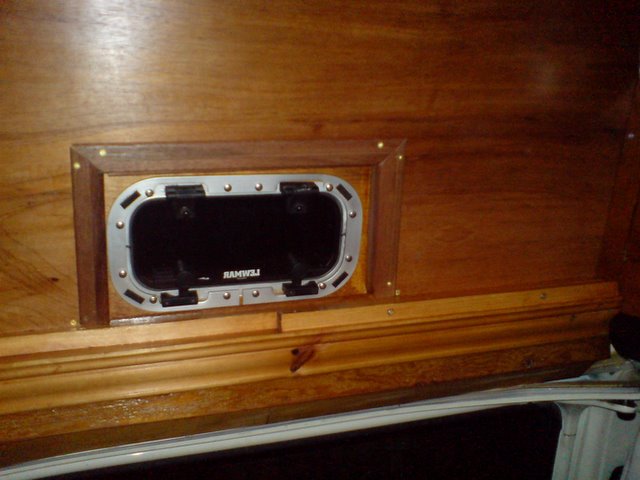 Just makes it all look so much more unified, and shiny, and finished, and AWESOME :-)
posted by Steve Wright | 7:32 AM
|
0 comments
![]()
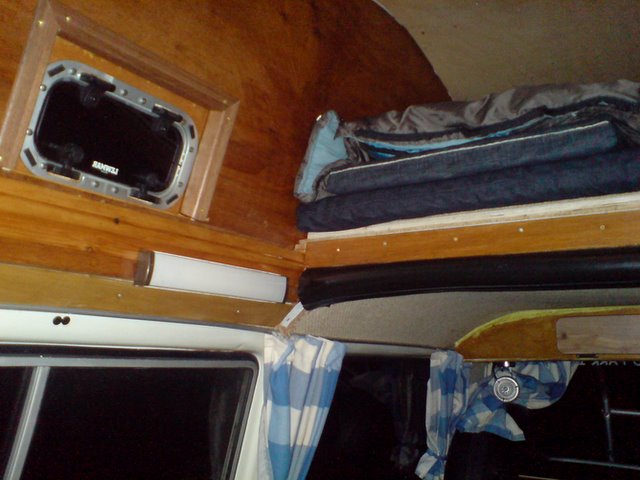 Adding varnish and it's all looking SWEEEEET - also used a length of pipe lagging and coverred it in gaffa tape to give a soft-impact cover over the corner which looks nice, stops head injuries and covers up the rough front of the roof. THe bit of wood over it also covers up the ply on the bed so it's all pretty much seamless - at last!
posted by Steve Wright | 7:30 AM
|
0 comments
![]()
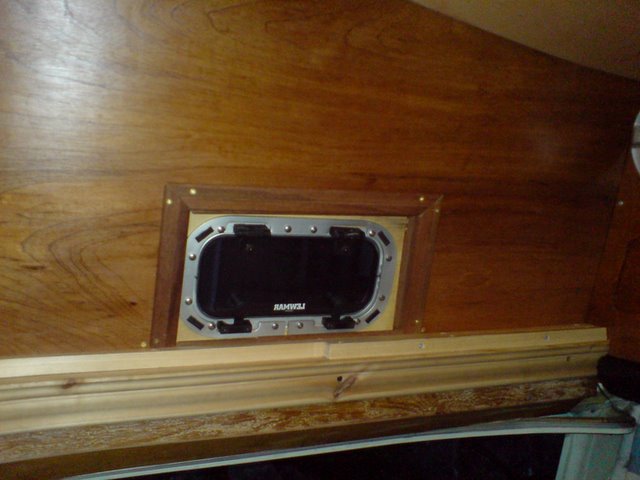 This side has a baton in place to stop the extra bit of upper bed slide left right and come off, and then another shorter length screwed in front to stop it sliding front back and creating a gap in the bed. WHich all fitted nicely to make that quite neat in the end - also covers up the lower seam of side panel.
posted by Steve Wright | 7:27 AM
|
0 comments
![]()
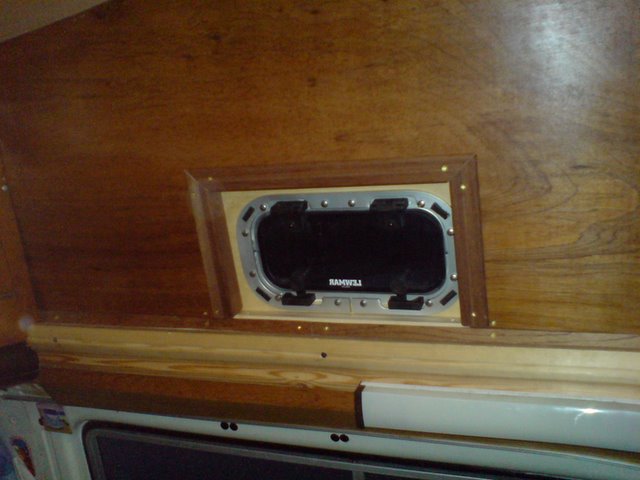 Took me a while to cutr the little bits of wood here - used L-profile batons around the winodws with 45 degree corners, and some off-cuts of ply to trim along below the side panels and a bit of baton to cover ubelow window.
posted by Steve Wright | 7:22 AM
|
0 comments
![]()
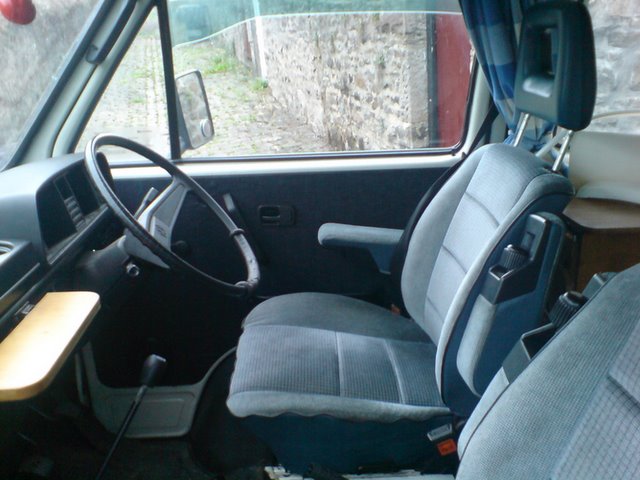 Here are the captains chairs we got - went on a mission over to Durham, one passenger arm is a bit floppy but they are WELL comfortable. Worth £200? Well that's a LOT for seats, but they were £300-odd at vanfest and have made long-distance driving real armchair type pleasure. And the colour goes so well :-)
posted by Steve Wright | 7:19 AM
|
0 comments
![]()
 We put these in and coverred them, then took them out and insulated behind - you can see the denim has bagged a little as a result but still looks a darn site better than plain MDF.
posted by Steve Wright | 7:11 AM
|
0 comments
![]()
 As you could see on prev pics I filled the gaps in the body with some scraps of loft glass fibre insulation and the x-trem foam.
posted by Steve Wright | 6:52 AM
|
0 comments
![]()
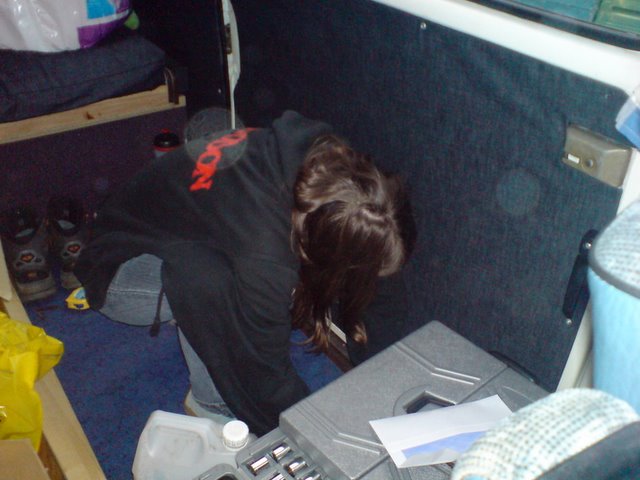
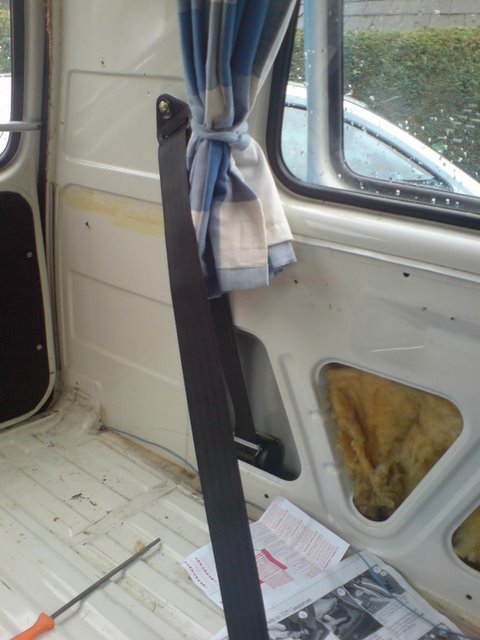 This is the mounting for the 3-point seatbelt. The JK instructions for fitting the 3-point belt are really clear in fact - though you do have to slighly expand on hole to mount the winding mechanism but that's easy with a big drill bit, only a few secs. It mounts really smoothly as well so no need to cut panels or rear trays/covers for rock n roll bed.
posted by Steve Wright | 6:46 AM
|
0 comments
![]()
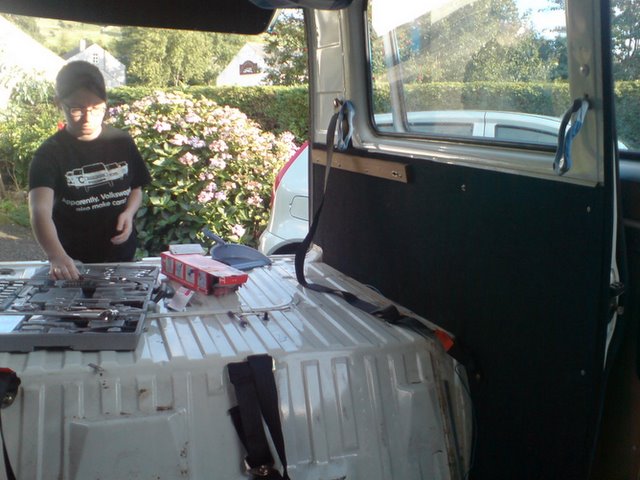
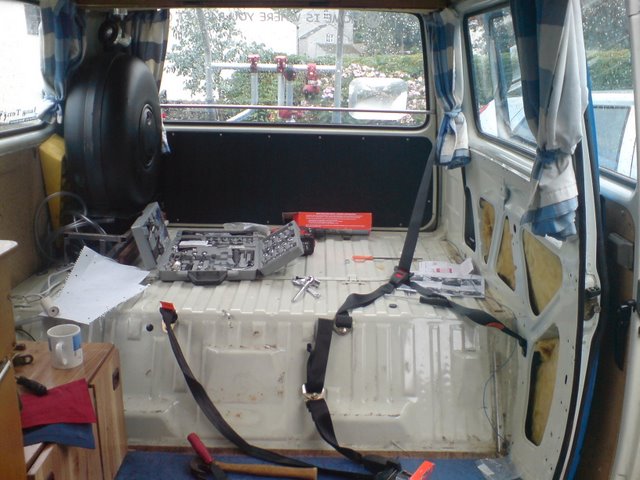 This is with the interior removed.
posted by Steve Wright | 6:37 AM
|
0 comments
![]()